
Become a Threads Insider
Enjoy instant access to hundreds of exclusive how-to videos, project tutorials, and in-depth sewing content.
Start Your Free Trial
Already an Insider? Log in


NEW!
Threads Project Guides
Everything you need to know to design and sew your own wardrobe.


Threads Insider Exclusives
View All-
Hand-Sew Collars and Facings for Extra Neat, Sharp Results
-
Make a Statement With Oversized Silk Blossoms
-

Designed for Living, Not for Fashion
-
Pattern Review: Atelier 8 Avril Lapiz Blouse or Dress
-
Pattern Review: Chalk and Notch Isle Jeans
-
Pattern Review: Burda Style Blazer 105 (1050523)
-
Pattern Review: Simplicity 9789 and 9790
-
Pattern Review: In the Folds Sawtell Dress 011
-
Pattern Review: Jessilous Patterns Sunrise Skort
-
A Mending Tool From the Past: The Darning Loom
-
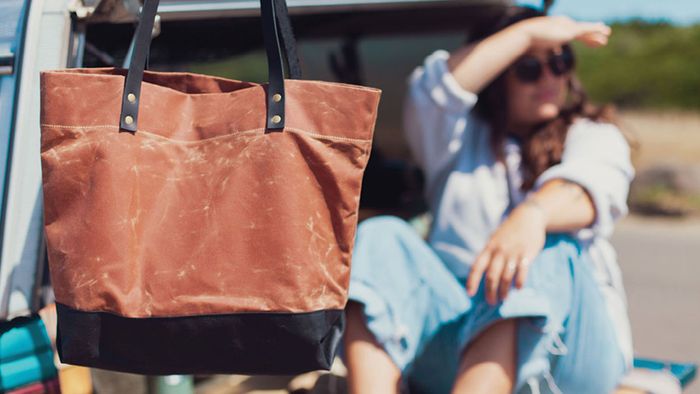
Try Waxed Canvas for a Durable Bag or Garment
-
Scale Down a Beaded Gown for a Petite Figure
-
Sew Your Best Backpack
-
Add Bonnie Cashin Pockets
-
Knotted Frog Closures
-
Sew Charming Tops from Vintage Embroidered Linens


Conversational Threads
Highlights
-
Sign up for the Threads eletter
This site is protected by reCAPTCHA and the Google Privacy Policy and Terms of Service apply.See all newsletters -
 Sponsored Content
Where to Buy
-

-

-

-

Threads Insider
Video
View All-
 Sewing with Threads Podcast
Altering, Fitting, and Ready-To-Wear Garments, with Pamela Howard | Episode 65
-
 Sewing with Threads Podcast
Making Time for Draping, with ChaCha N. Hudson | Episode 63
-
 Sewing with Threads Podcast
Sewing for Prom and Wedding Season, with Barbie McCormick | Episode 62
-
 Sewing with Threads Podcast
Traditional and Updated Tailoring, with Couture Expert Kenneth D. King | Episode 59


Podcast
Sewing with Threads
The podcast for people who love to sew!

Connect
Follow Threads on your favorite social networks.
Threads 360
View All-
Designer Stitch Dita 0821 | 360-Degree View
This vintage-look knit dress has a semi-funnel collar, keyhole neckline, flared panel skirt, set-in sleeves with a gathered edge over the upper arms, center-back zipper, and optional self-fabric 4-inch-wide ruched…
-
BurdaStyle 1210720 Striped Fit-and-Flare Dress | 360-Degree View
Put striped fabrics to creative use in this 1950s-inspired swing dress. It features a banded V-neckline, one-button closure, cap sleeves with an underarm gusset, fitted bodice with bust and waist…
-
Marfy 9071 Pants with Zipper Details | 360-Degree View
Marfy 9071 includes two garments: a top and pants. We are only showing the pants, which feature unusual zipper details. The slim-fitting, ankle-length pants have a narrow waistband, fly front,…


